How to Make Lemon Cream Cheese Bars in 25 Minutes
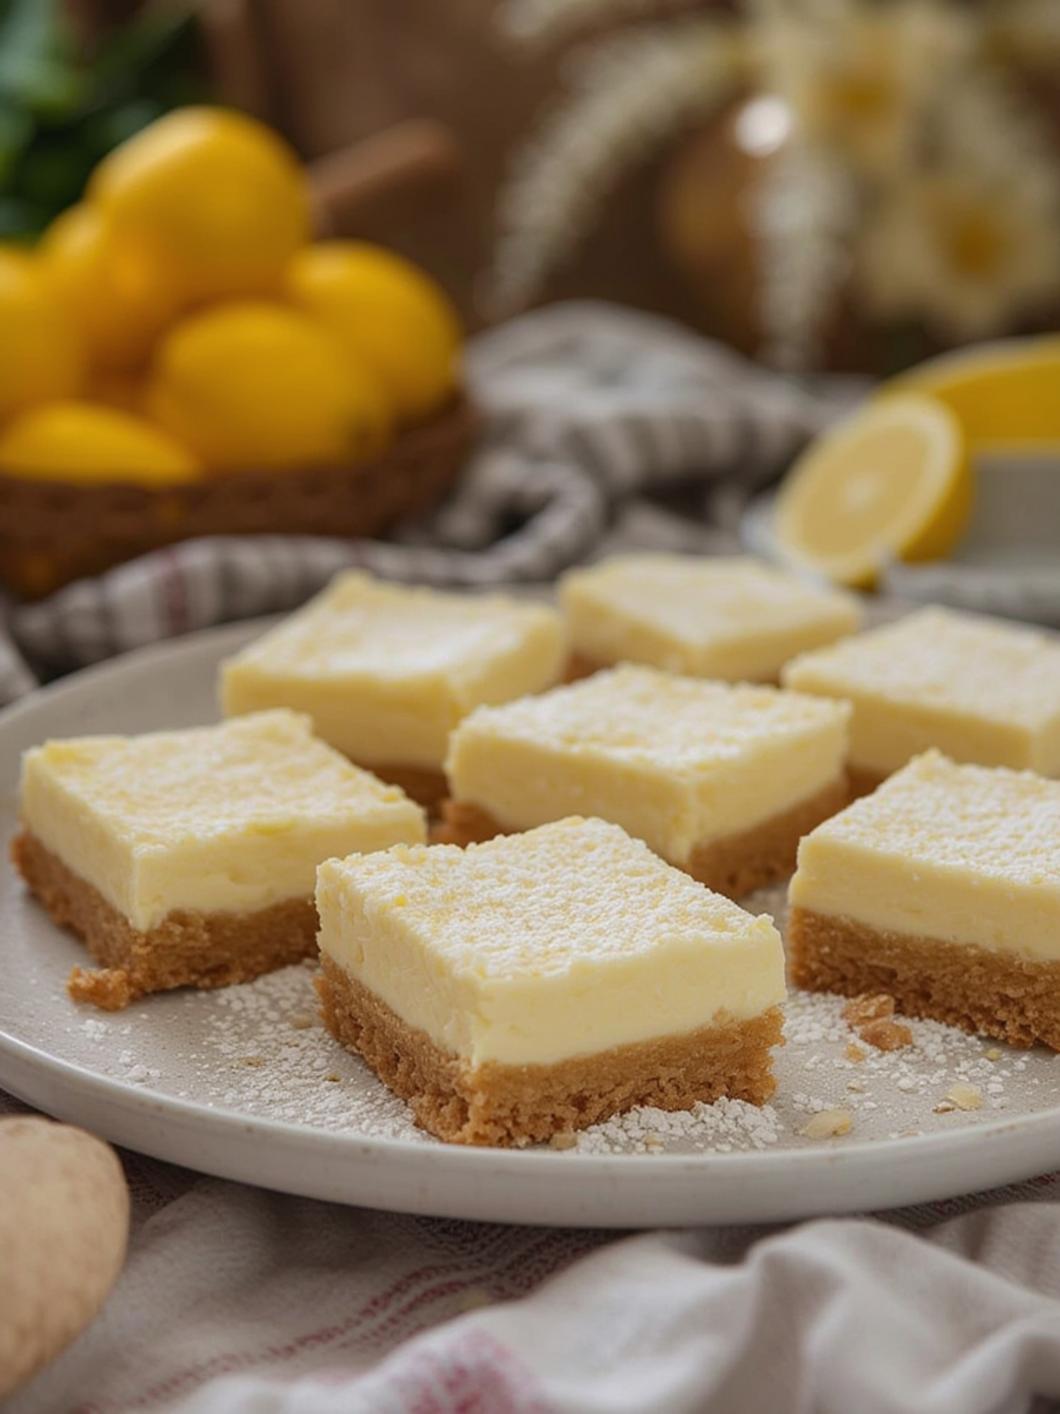
Are you looking for a sweet treat that’s bursting with citrus flavor and can be whipped up in just 25 minutes? Look no further! These delightful Lemon Cream Cheese Bars will have your taste buds dancing, and they take no time at all to prepare. With their creamy, tangy filling complemented by a buttery crust, these lemon cheesecake bars are a perfect dessert for any occasion—be it a family gathering, picnic, or just a personal treat after a long day.
Ingredients & Kitchen Tools
Ingredients:
– 1 cup all-purpose flour
– 1/2 cup unsalted butter, softened
– 1/4 cup granulated sugar
– 1 (8 oz) package cream cheese, softened
– 1 cup powdered sugar
– 2 large eggs
– 1/4 cup fresh lemon juice (about 2-3 lemons)
– Zest of 1 lemon
– 1 teaspoon vanilla extract
– 1/2 teaspoon baking powder
– Pinch of salt
Kitchen Tools:
– 8×8 inch baking dish
– Mixing bowls
– Electric mixer or whisk
– Measuring cups and spoons
– Rubber spatula
– Zester or grater
Prep & Cook Time
– Prep Time: 10 minutes
– Cook Time: 15 minutes
– Total Time: 25 minutes
Step-by-Step Instructions
1. Preheat Your Oven: Preheat your oven to 350°F (175°C) and grease or line an 8×8 inch baking dish with parchment paper for easy removal.
2. Make the Crust: In a mixing bowl, combine the softened butter and granulated sugar. Beat until the mixture is creamy. Gradually add in the flour and a pinch of salt until the mixture resembles wet sand. Evenly press this mixture into the bottom of the prepared baking dish to form the crust.
3. Bake the Crust: Place the dish in the preheated oven and bake for 10 minutes, or until slightly golden. Remove from the oven and set aside to cool slightly.
4. Prepare the Filling: In another bowl, beat the softened cream cheese until smooth. Gradually add the powdered sugar, mixing well. Then, add the eggs one at a time, beating well after each addition. Stir in the fresh lemon juice, lemon zest, vanilla extract, and baking powder until the mixture is well combined.
5. Bake the Bars: Pour the creamy lemon filling over the pre-baked crust and spread it evenly. Return to the oven and bake for 15 minutes, or until the filling is set and the edges start to turn golden.
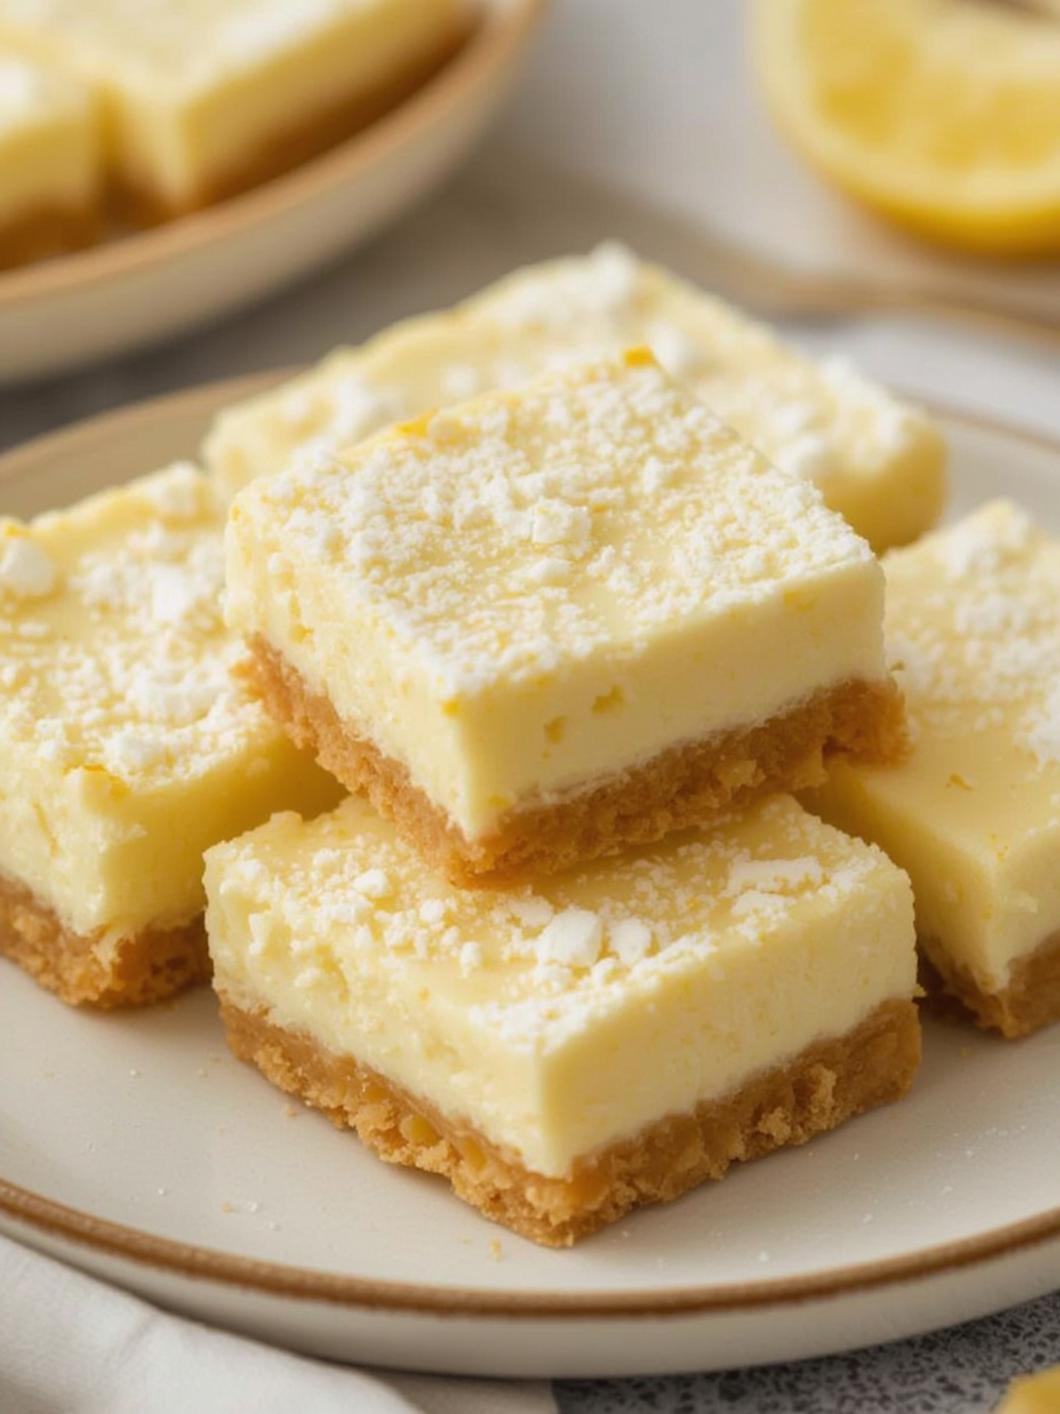
6. Cool and Cut: Allow the bars to cool completely in the pan before lifting and cutting them into squares. Dust with additional powdered sugar if desired.
Nutritional Benefits or Advantages
These Lemon Cream Cheese Bars are not only delicious but also provide some nutritional benefits. Lemons are rich in vitamin C, which can boost your immune system. Cream cheese adds a dose of calcium and protein, while the sugars provide a quick energy boost. Enjoy these bars in moderation as part of a balanced diet!
Tips, Variations, or Substitutions
– For a Gluten-Free Version: Substitute all-purpose flour with a 1:1 gluten-free baking blend.
– Add a Twist: Include a handful of fresh berries in the filling for added flavor and texture.
– Lemon Alternatives: Use key lime juice instead of lemon juice for a zesty twist on this delightful treat.
Common Mistakes to Avoid
– Overmixing the Filling: Be careful not to overmix the cream cheese filling, as this can lead to cracks during baking.
– Underbaking: Ensure the filling is set before removing the bars from the oven, as underbaked bars can be too soft.
Storage and Reheating Tips
Store your Lemon Cream Cheese Bars in an airtight container in the refrigerator for up to one week. You can also freeze them for up to three months. Just be sure to wrap them tightly to prevent freezer burn. When ready to enjoy, simply thaw in the refrigerator overnight.
Conclusion with Call-to-Action
In just 25 minutes, you can enjoy a batch of these heavenly Lemon Cheesecake Bars that are perfect for any lemon lover. So why wait? Gather your ingredients and make these delicious Lemon Cream Cheese Bars today! Don’t forget to share your creations with friends and family, and let us know how they turned out in the comments!
FAQs
1. Can I use bottled lemon juice?
Yes, bottled lemon juice is a convenient option, but fresh juice will provide the best flavor.
2. How can I tell when the bars are done baking?
The bars are done when the edges are set, and the center has a slight jiggle but is not liquid.
3. Can I double this recipe?
Absolutely! Just use a 9×13 inch baking dish and adjust the baking time as needed.
4. Can I serve these bars warm?
While they are best chilled, you can serve them warm if desired; just be cautious with the filling’s texture!