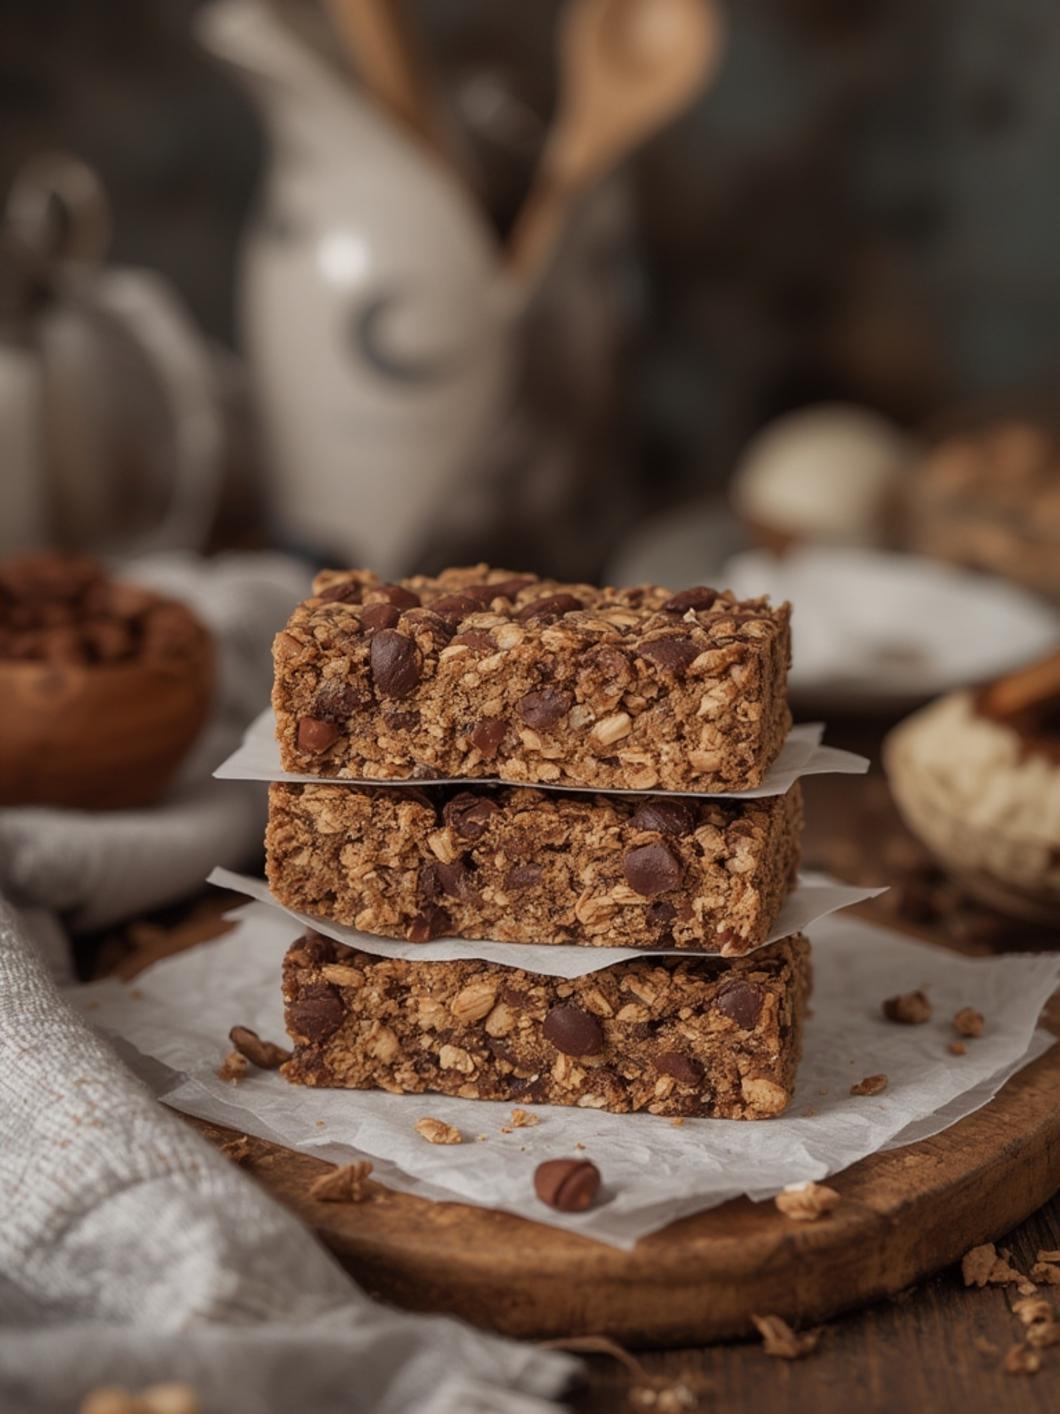
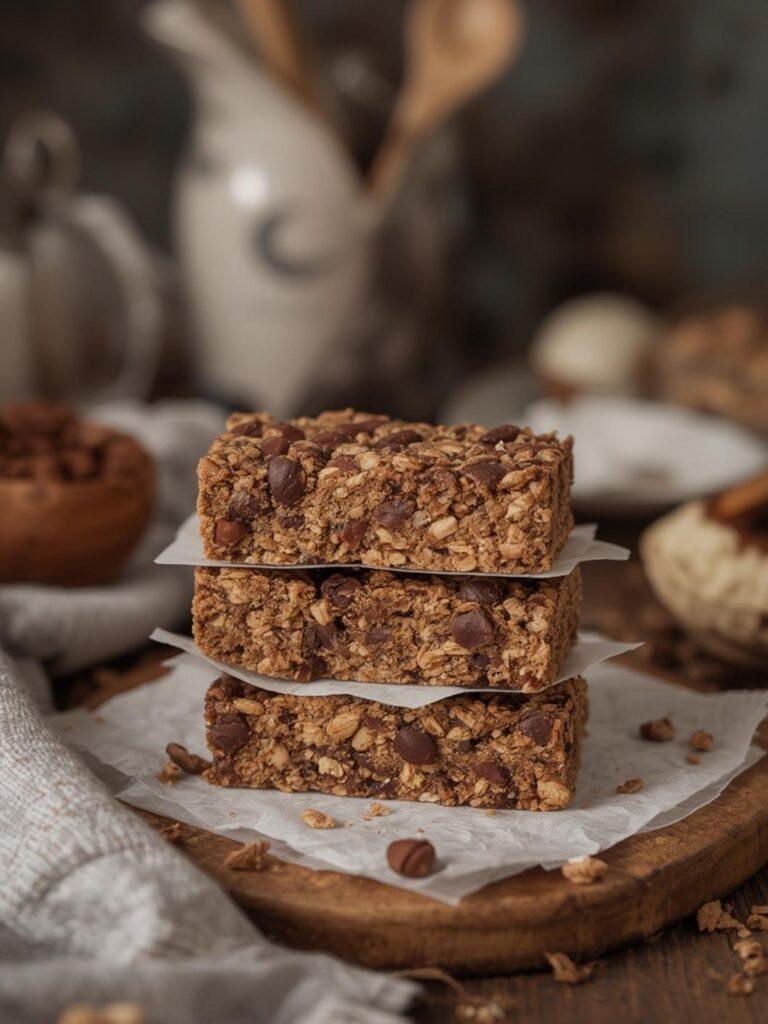
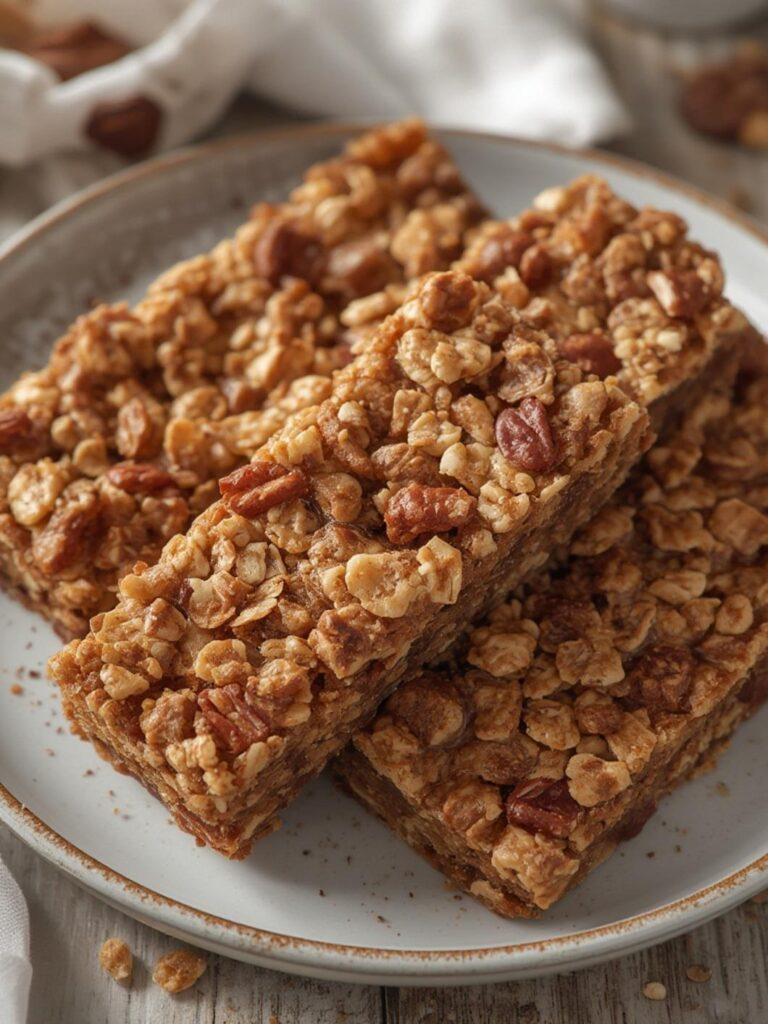
How to Make Granola Bars in 5 Simple Steps
Are you ready to whip up a delicious and nutritious snack that both you and your family will love? Making your own granola bars is easier than you might think! These delightful treats are perfect for on-the-go snacking, breakfast, or even a midday pick-me-up. Follow these five simple steps to make your homemade granola bars packed with wholesome ingredients that will keep you energized throughout the day.
Ingredients & Kitchen Tools
Ingredients:
– 2 cups rolled oats
– 1 cup nuts (almonds, walnuts, or pecans)
– 1/2 cup honey or maple syrup
– 1/2 cup nut butter (peanut butter or almond butter)
– 1/2 cup dried fruits (cranberries, raisins, or apricots)
– 1 teaspoon vanilla extract
– A pinch of salt
Kitchen Tools:
– Mixing bowl
– Baking dish (8×8 inch)
– Parchment paper
– Spoon or spatula
– Oven
Prep & Cook Time
– Prep time: 15 minutes
– Cook time: 20 minutes
– Total time: 35 minutes
Step-by-Step Instructions
1. Preheat your oven. Start by preheating your oven to 350°F (175°C). This will ensure your granola bars bake evenly and become beautifully golden brown.
2. Mix dry ingredients. In a large mixing bowl, combine the rolled oats, chopped nuts, and a pinch of salt. Stir the mixture until evenly distributed. This step creates a solid base for your granola bars.
3. Combine wet ingredients. In a separate bowl, combine the honey (or maple syrup), nut butter, and vanilla extract. Mix until smooth and well-blended. This sweet and creamy mixture not only adds flavor but acts as the glue that holds your granola bars together.
4. Combine wet and dry mixtures. Pour the wet mixture into the bowl with the dry ingredients. Add in the dried fruits and stir thoroughly. Make sure everything is well-coated; this will create a cohesive mixture that will form perfect granola bars.
5. Bake. Line your baking dish with parchment paper, leaving some overhang for easy removal later. Spread the granola mixture evenly in the pan, pressing it down firmly with a spatula. Bake for about 20 minutes or until golden brown. Allow it to cool completely before cutting into bars.
Nutritional Benefits or Advantages
Homemade granola bars are not just tasty—they’re also packed with nutrients! You get fiber from oats, healthy fats and protein from nuts and nut butter, and antioxidants from dried fruits. Enjoying these healthy snacks can help you maintain energy levels, support weight management, and keep you feeling satisfied between meals.
Tips, Variations, or Substitutions
– Nut-free: If you have nut allergies, substitute the nut butter with sunflower seed butter and use seeds instead of nuts.
– Flavor: Enhance the flavor by adding spices like cinnamon or a few dark chocolate chips for a sweet indulgence.
– Gluten-free: Simply use certified gluten-free oats to make these bars gluten-free without compromising on flavor.
Common Mistakes to Avoid
– Not pressing the mixture firmly enough in the baking dish may result in crumbly bars. A flat, compact surface ensures better structure.
– Overbaking can lead to hard and crunchy granola bars. Keep an eye on them as they bake, and take them out when they’re just golden.
Storage and Reheating Tips
Once cooled, store your granola bars in an airtight container at room temperature for up to one week. For longer storage, you can freeze them for up to three months. Simply thaw at room temperature before enjoying.
Conclusion with call-to-action
Making granola bars at home is a rewarding and delicious way to take control of your snacking. With just a handful of ingredients and five simple steps, you can create healthy snacks that are adaptable to your tastes! Go ahead and try this recipe today—your taste buds will thank you, and you will have energy-boosting snacks ready for any occasion.
FAQs
1. Can I make these granola bars vegan?
Yes! Use maple syrup instead of honey and choose plant-based nut butter.
2. How do I add protein to my granola bars?
Consider adding protein powder or using protein-enriched nut butter.
3. How can I make my bars more chewy?
Add more nut butter or honey to create a chewier texture.
4. Can I bake these in a different-sized pan?
Yes, but keep in mind that baking time will vary based on the size of the pan. Make sure to check for doneness!