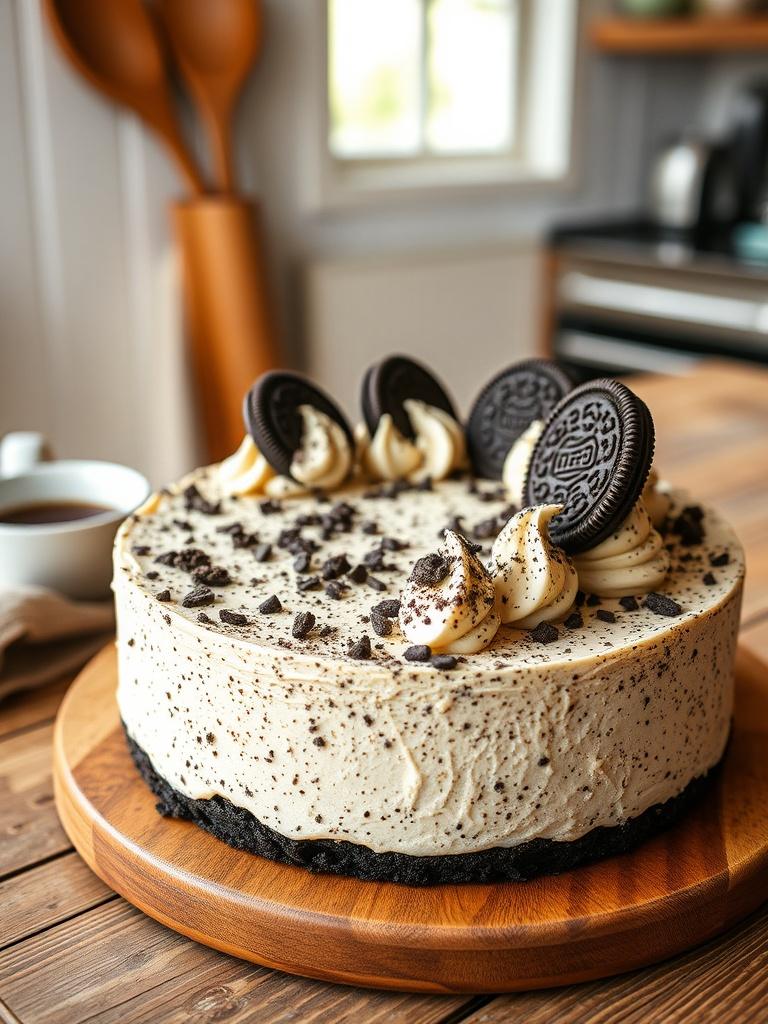
Easy Oreo Milk Dessert Cups for a Sweet Treat
Who can resist the creamy, decadent allure of Oreo Milk Dessert Cups? This delightful treat combines the flavors of cookies and cream with a quick, easy-to-make formulation that will have your friends and family begging for more. If you love the taste of Oreo cheesecake cups, you’ll find this dessert just as irresistible, but with even less effort required. Perfect for parties, family gatherings, or simply satisfying your sweet tooth, these dessert cups are sure to impress!
Ingredients & Kitchen Tools
– Ingredients:
– 1 package (14.3 oz) Oreo cookies
– 2 cups heavy whipping cream
– 1 cup cream cheese (softened)
– 1/2 cup powdered sugar
– 1 tsp vanilla extract
– 1 cup milk
– Kitchen Tools:
– Blender or food processor
– Mixing bowls
– Electric mixer
– Dessert cups or glasses
– Spatula
– Measuring cups and spoons
Prep & Cook Time
– Prep Time: 20 minutes
– Chill Time: 2 hours (minimum)
– Total Time: 2 hours 20 minutes
Step-by-Step Instructions
1. Prepare the Oreo Crust: Begin by placing the Oreo cookies into a blender or food processor. Blend until they become a fine crumb. Set aside a small portion (about 1/2 cup) for garnish later.
2. Make the Creamy Filling: In a mixing bowl, combine the softened cream cheese with the powdered sugar and vanilla extract. Using an electric mixer, blend until smooth and creamy.
3. Whip the Cream: In another bowl, pour the heavy whipping cream and whisk until stiff peaks form. This step is crucial for that luscious texture. Be careful not to overwhip!
4. Combine Mixtures: Slowly fold the whipped cream into the cream cheese mixture. This gentle blending will keep your dessert light and airy while ensuring the flavors meld beautifully.
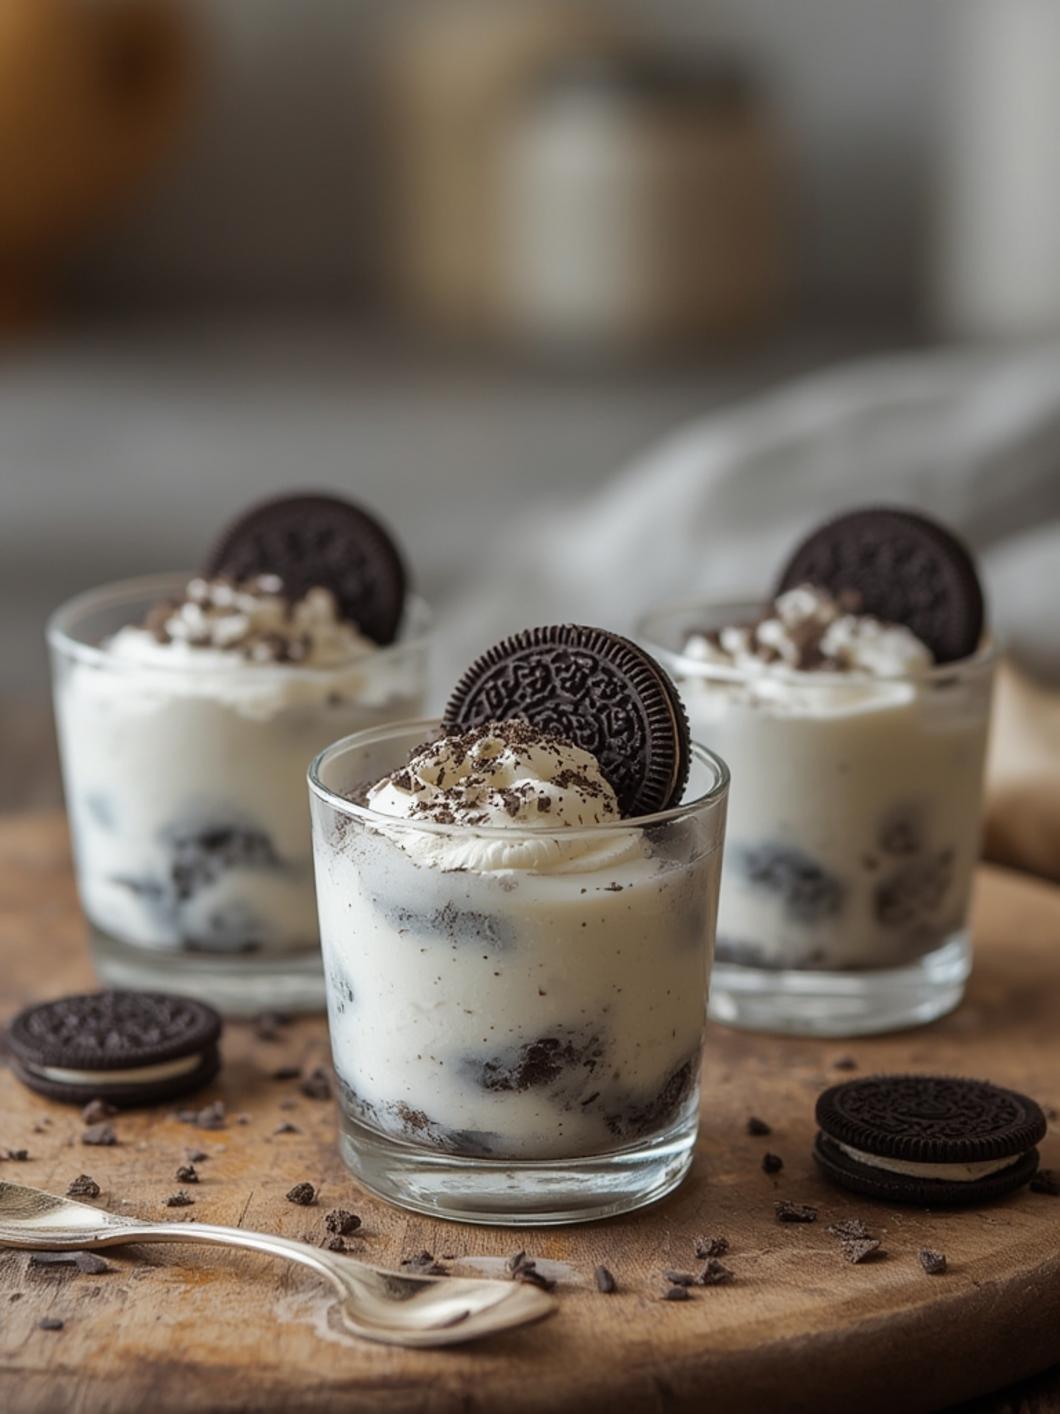
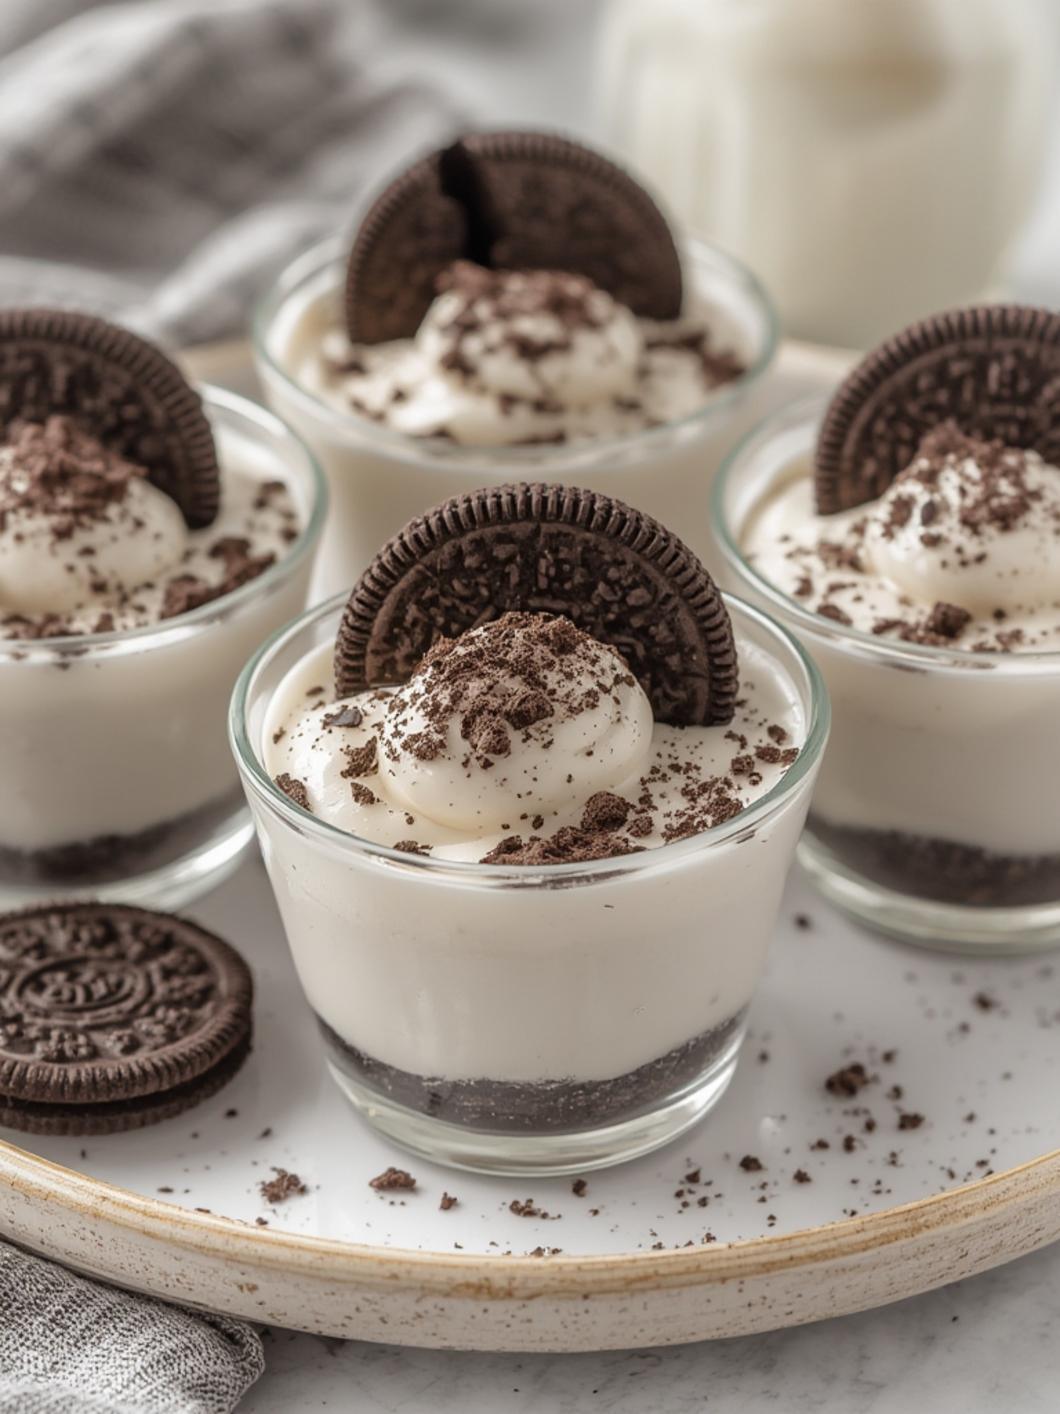
5. Layer the Cups: Start layering your dessert cups with a scoop of the Oreo crumbs at the bottom, followed by a layer of the creamy filling. Alternate between layers of crumbs and filling until you reach the top of the cups, finishing with the creamy mixture.
6. Chill and Serve: Sprinkle the reserved Oreo crumbs on top for an extra crunch, then cover the dessert cups with plastic wrap and refrigerate for at least 2 hours. This chilling time allows the flavors to develop and the dessert to set.
7. Enjoy! After chilling, your Oreo Milk Dessert Cups are ready to be served. Enjoy the delightful layers and rich flavors in each spoonful!
Nutritional Benefits or Advantages
These Oreo Milk Dessert Cups, while a treat, also boast some nutritional benefits. Cream cheese provides calcium, while heavy cream delivers essential fats for energy. Oreos, although indulgent, can bring joy and satisfaction, making them great for occasional treats when enjoyed in moderation.
Tips, Variations, or Substitutions
– Substitutions: If you’d like a healthier option, consider using Greek yogurt instead of cream cheese for a tangy twist. For a dairy-free version, opt for coconut cream.
– Variations: Add in layers of your favorite fruits (like strawberries or bananas) for a delightful twist. You can also drizzle chocolate syrup on top for extra indulgence.
Common Mistakes to Avoid
– Overwhipping Cream: Be cautious while whipping the cream. Overwhipping can lead to a grainy texture and less volume.
– Skipping Chill Time: This step is vital for flavor melding. If you skip refrigerating, you may miss out on the full experience of creamy delight.
Storage and Reheating Tips
Store any leftovers in an airtight container in the refrigerator for up to three days. These dessert cups taste best when served cold. Reheating is not recommended, but serving chilled will enhance the flavors further.
Conclusion
This recipe for Oreo Milk Dessert Cups is an indulgent yet simple way to satisfy your dessert cravings. With easy preparation and delightful layers that mirror the beloved Oreo cheesecake cups, it’s bound to become a favorite in your dessert repertoire. Gather your ingredients, and let’s get whipped up in the kitchen! Don’t forget to share your creations in the comments below!
FAQs
Q: Can I make these Oreo Milk Dessert Cups ahead of time?
A: Absolutely! They stay fresh in the fridge for up to three days, so feel free to prepare them a day in advance.
Q: Can I use a different type of cookies?
A: Yes! Feel free to experiment with any cookie type you love, like chocolate chip or even gluten-free options.
Q: Is it necessary to use heavy cream?
A: While heavy cream creates the best texture, you can use whipped topping or non-dairy alternatives for a lighter version.
Q: How can I make these healthier?
A: Substitute with low-fat cream cheese and Greek yogurt to reduce calories and fat content.