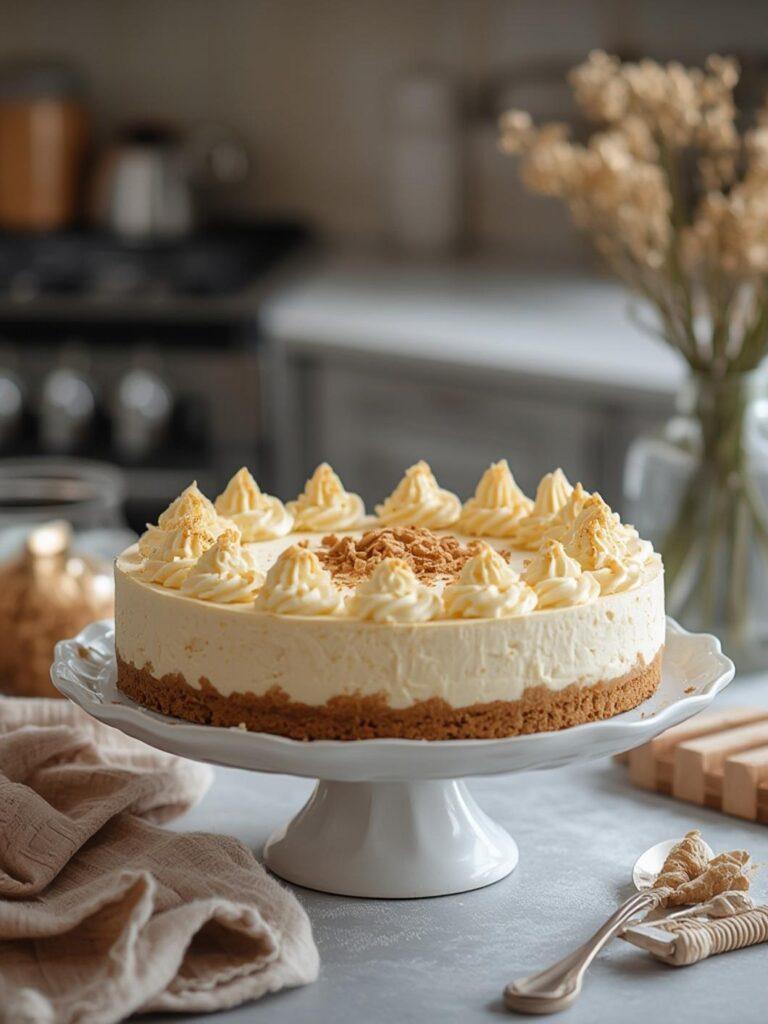
Easy Red Velvet Cheesecake in 5 Simple Steps
If you’re searching for a stunning dessert that combines the rich flavors of Red Velvet Cake with the creamy delight of cheesecake, you’ve landed in the right spot! This Easy Red Velvet Cheesecake is not only beautiful but also deliciously velvety and smooth, making it the perfect treat for any occasion. Let’s slice into this delightful recipe in just five simple steps!
Ingredients & Kitchen Tools
Ingredients:
– For the crust:
– 1 ½ cups chocolate cookie crumbs
– 1/2 cup unsalted butter, melted
– 1 tablespoon sugar
– For the cheesecake filling:
– 16 ounces cream cheese, softened
– 1 cup granulated sugar
– 3 large eggs
– 1 teaspoon vanilla extract
– 1/4 cup sour cream
– 1 tablespoon unsweetened cocoa powder
– 1 tablespoon red food coloring (gel preferred)
– For the topping (optional):
– Whipped cream
– Red velvet cake crumbs or chocolate shavings
Kitchen Tools:
– 9-inch springform pan
– Mixing bowls
– Electric mixer
– Rubber spatula
– Measuring cups and spoons
– Baking sheet
– Parchment paper
Prep & Cook Time
– Prep Time: 20 minutes
– Cook Time: 1 hour
– Total Time: 1 hour and 20 minutes

Step-by-Step Instructions
1. Prepare the Crust:
In a mixing bowl, combine chocolate cookie crumbs, melted butter, and sugar. Blend until the mixture resembles wet sand. Press this mixture firmly into the bottom of a 9-inch springform pan to form a solid crust. Bake in a preheated oven at 350°F (175°C) for 10 minutes. Remove from the oven and cool slightly.
2. Make the Cheesecake Filling:
In a large bowl, beat the softened cream cheese and granulated sugar with an electric mixer until creamy and smooth. Add the eggs, one at a time, beating well after each addition. Mix in vanilla extract, sour cream, cocoa powder, and red food coloring until the color is uniform.
3. Combine and Bake:
Pour the red velvet cheesecake filling over the cooled crust. Smooth the top with a rubber spatula. Bake in the preheated oven for about 50-60 minutes, or until the center is just set (a slight jiggle is okay).
4. Cool the Cheesecake:
Turn off the oven and crack the oven door open to let the cheesecake cool gradually for about 1 hour. Once cooled at room temperature, refrigerate for at least 4 hours or overnight for the best flavor and texture.
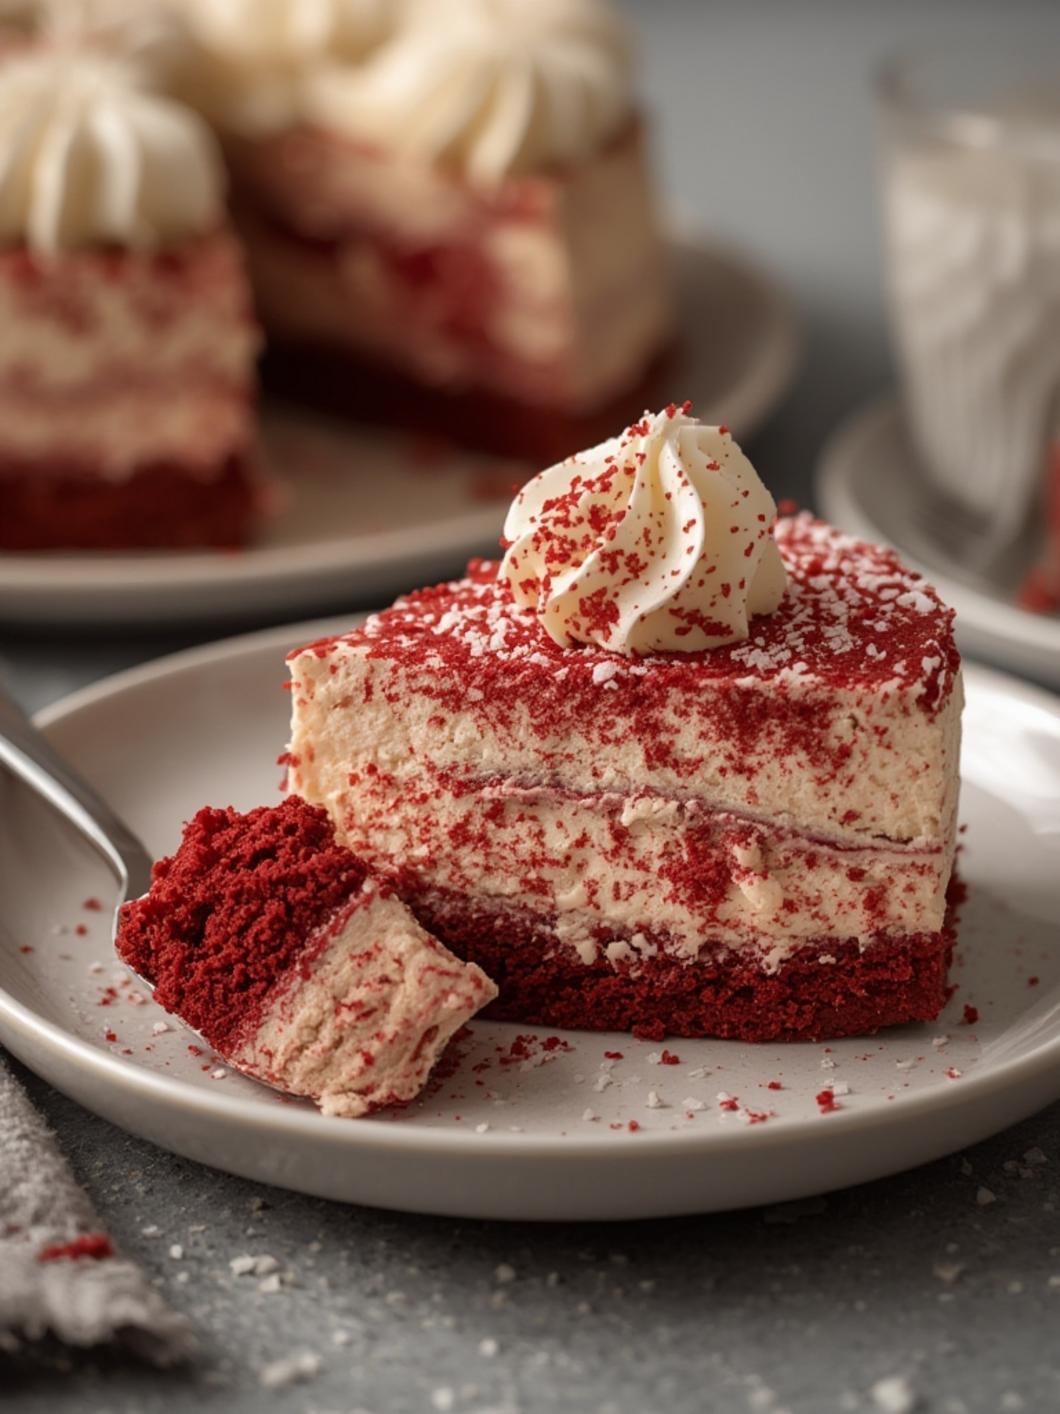
5. Serve:
Before serving, top your red velvet cheesecake with whipped cream and optional cake crumbs or chocolate shavings. Slice and enjoy your beautiful creation!
Nutritional Benefits or Advantages
This Red Velvet Cheesecake not only satisfies your sweet tooth but also delivers a bit of protein from the cream cheese and is lower in overall sugar compared to many traditional desserts. The addition of sour cream adds richness while promoting a creamy texture—an indulgent treat that doesn’t skimp on flavor!
Tips, Variations, or Substitutions
– Gluten-Free Option: Use gluten-free chocolate cookies for the crust.
– Dairy-Free Variation: Substitute cream cheese with dairy-free cream cheese and use coconut cream instead of sour cream.
– Flavor Twist: Incorporate orange or lemon zest for a citrusy punch!
Common Mistakes to Avoid
– Ensure that your cream cheese is fully softened to prevent lumps.
– Don’t skip the cooling step in the oven; doing so helps prevent cracks on your cheesecake.
– Remember to refrigerate it for at least 4 hours for the ideal consistency.
Storage and Reheating Tips
Store any leftovers in an airtight container in the refrigerator for up to 5 days. To enjoy it cold, simply serve after chilling. If you prefer it warm, let it come to room temperature before serving, or gently reheat in the oven at a low temperature, covered for moisture.
Conclusion with Call-to-Action
Give this Easy Red Velvet Cheesecake a try next time you’re in the mood for a truly special dessert! With its vibrant color and tasty layers, it’s sure to impress friends and family alike. Don’t forget to share your creations and tag us on social media. Happy baking!
FAQs
1. Can I use a different type of food coloring?
Yes, you can! While gel food coloring is best for a vibrant red, you can experiment with liquid food coloring, but the shade might vary.
2. Is it necessary to use a springform pan?
Using a springform pan makes it easier to release and serve your cheesecake without damaging its shape.
3. Can I freeze this cheesecake?
Absolutely! Wrap it tightly and store in the freezer for up to 3 months. Thaw it overnight in the refrigerator before serving.
4. How can I tell when the cheesecake is done?
The edges should be set, while the center may slightly jiggle when you gently shake the pan. It will firm up as it cools.