Simple 5-Step Recipe for Chocolate Pudding Pots
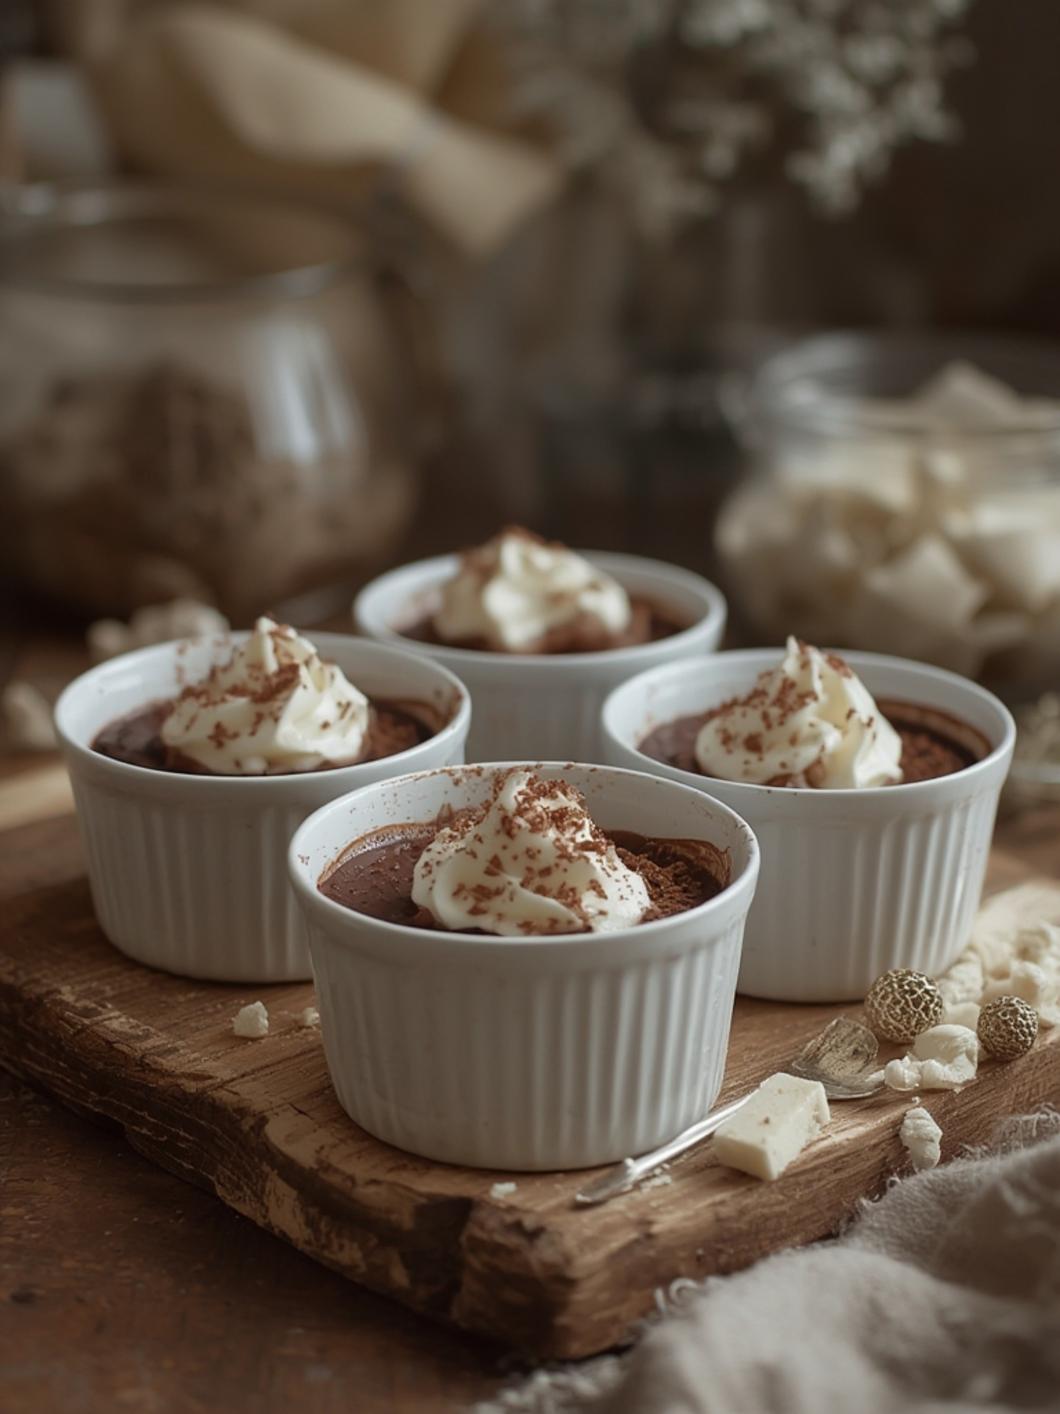
Indulging in a rich and velvety dessert shouldn’t feel complicated. That’s why I’m excited to share this simple 5-step recipe for Chocolate Pudding Pots. Perfect for any occasion, these delightful Chocolate Dessert Cups are guaranteed to satisfy your chocolate cravings while adding a touch of elegance to your dining experience. With just a handful of ingredients and minimal effort, you’ll have homemade pudding that rivals any restaurant!
Ingredients & Kitchen Tools
Ingredients
– 2 cups whole milk
– 1/2 cup granulated sugar
– 1/3 cup unsweetened cocoa powder
– 1/4 cup cornstarch
– 1/4 teaspoon salt
– 2 teaspoons vanilla extract
– 2 tablespoons unsalted butter (optional, for creaminess)
Kitchen Tools
– Medium saucepan
– Whisk
– Measuring cups and spoons
– Serving cups or ramekins
– Fine mesh strainer (optional)
Prep & Cook Time
Prep Time: 10 minutes
Cook Time: 10 minutes
Chill Time: 2 hours
Total Time: 2 hours 20 minutes
Step-by-Step Instructions
1. Combine Dry Ingredients: In a medium saucepan, whisk together the granulated sugar, cocoa powder, cornstarch, and salt. This ensures that there are no lumps in your chocolate pudding.
2. Add Milk: Gradually whisk in the whole milk until the mixture is smooth. Make sure everything is well combined to avoid any clumping when cooking.
3. Cook the Mixture: Place the saucepan over medium heat. Continuously whisk the mixture until it thickens and begins to bubble. This should take about 5-7 minutes. Once thickened, remove from heat.
4. Incorporate Flavor: Stir in the vanilla extract and butter (if using) for an extra layer of richness. Mix until smooth, then let it cool slightly.
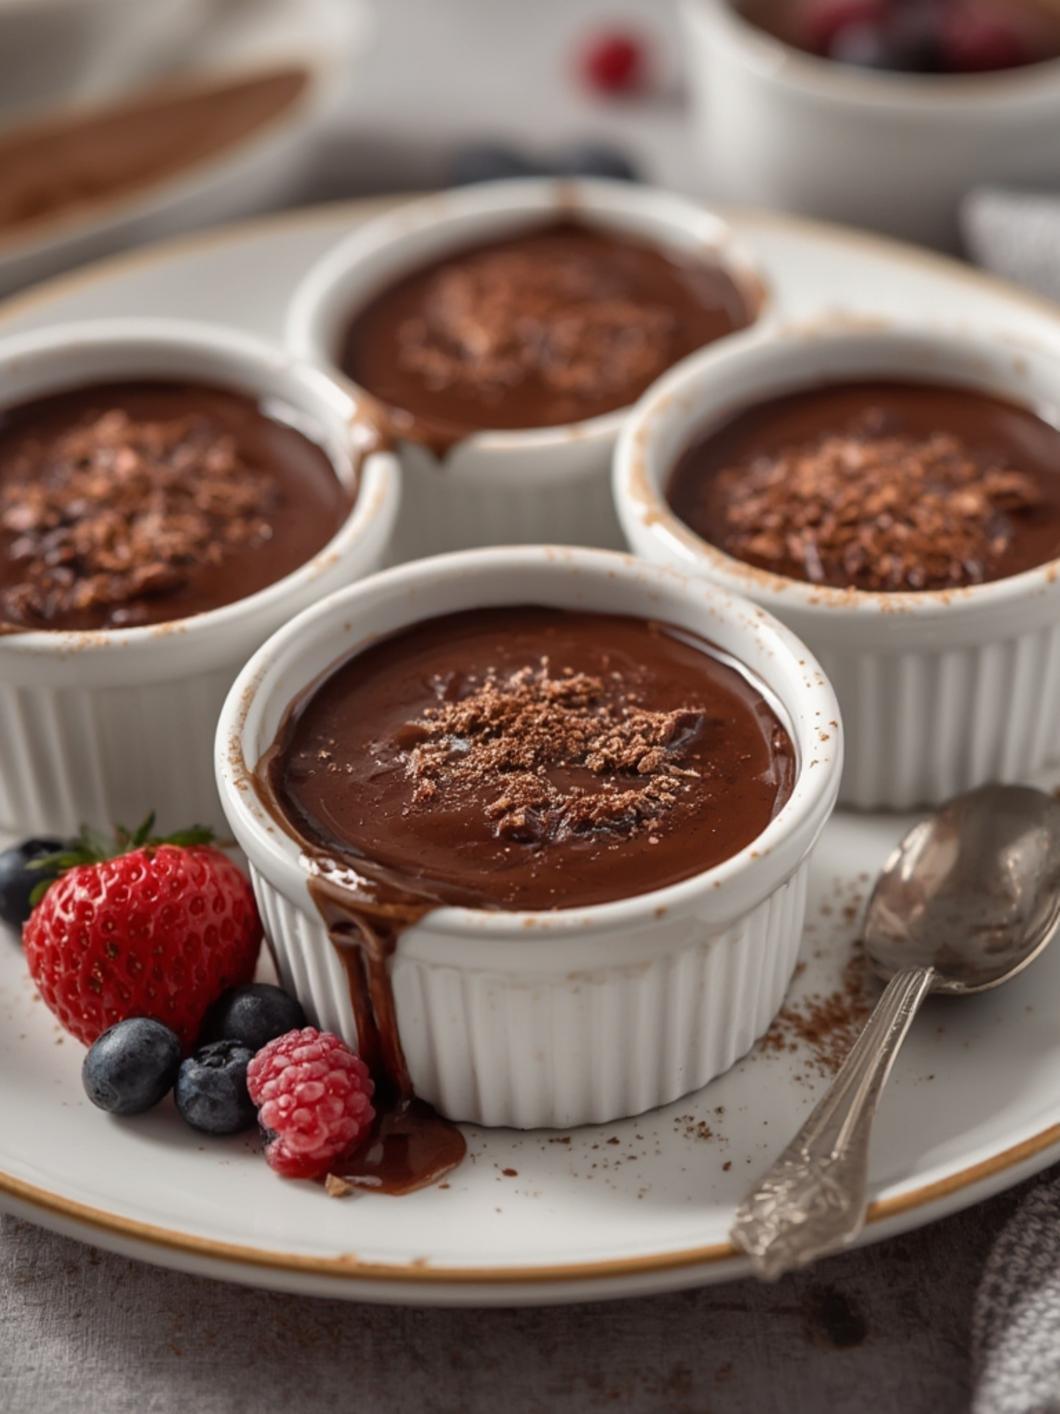
5. Divide and Chill: Pour the chocolate pudding into your serving cups or ramekins. Cover with plastic wrap (to prevent a skin from forming) and refrigerate for at least 2 hours, or until set.
Nutritional Benefits or Advantages
Chocolate pudding isn’t just a delicious treat; it also comes with some surprising nutritional benefits! Cocoa is packed with antioxidants, which can help boost heart health. By using whole milk in this recipe, you’re providing essential calcium and vitamins. Plus, making your own pudding allows you to control the sweetness and avoid any preservatives found in store-bought versions.
Tips, Variations, or Substitutions
– Dairy-Free Option: Substitute whole milk with your favorite non-dairy milk like almond or oat milk.
– Sweetener Switch: If you’re looking to lower sugar intake, try using natural sweeteners like honey or maple syrup.
– Add Some Texture: For added texture, consider stirring in mini chocolate chips or crushed cookies before pouring into cups.
Common Mistakes to Avoid
– Not Whisking Enough: Always whisk continuously while cooking to prevent the pudding from burning on the bottom.
– Skipping Chill Time: Allowing the pudding to set in the refrigerator is crucial for the right texture. Don’t rush this step!
Storage and Reheating Tips
Chocolate Pudding Pots can be stored in the refrigerator for up to 4 days. Make sure to cover them with plastic wrap or store in airtight containers to prevent them from absorbing any odors. For serving, simply enjoy them cold. There’s no need to reheat!
Conclusion
These delightful Chocolate Pudding Pots are not only delicious but also simple to make, proving that you don’t need fancy ingredients or lengthy recipes to whip up something special. Whether it’s for a weeknight dessert or a special gathering, these Chocolate Dessert Cups will impress family and friends alike. Give this recipe a try today and indulge in the creamy decadence you deserve!
FAQs
Q: Can I make these pudding cups ahead of time?
A: Absolutely! You can prepare them a day or two in advance, making them perfect for gatherings.
Q: How can I make my pudding thicker?
A: If you prefer a thicker pudding, simmer it longer while whisking, and consider adding more cornstarch.
Q: What can I use as a topping for the chocolate pudding?
A: Whipped cream, chocolate shavings, or fresh berries make great toppings for an extra treat!
Q: Can I freeze leftover pudding?
A: While it’s not recommended to freeze pudding due to potential texture changes, you can store it in the fridge for several days.